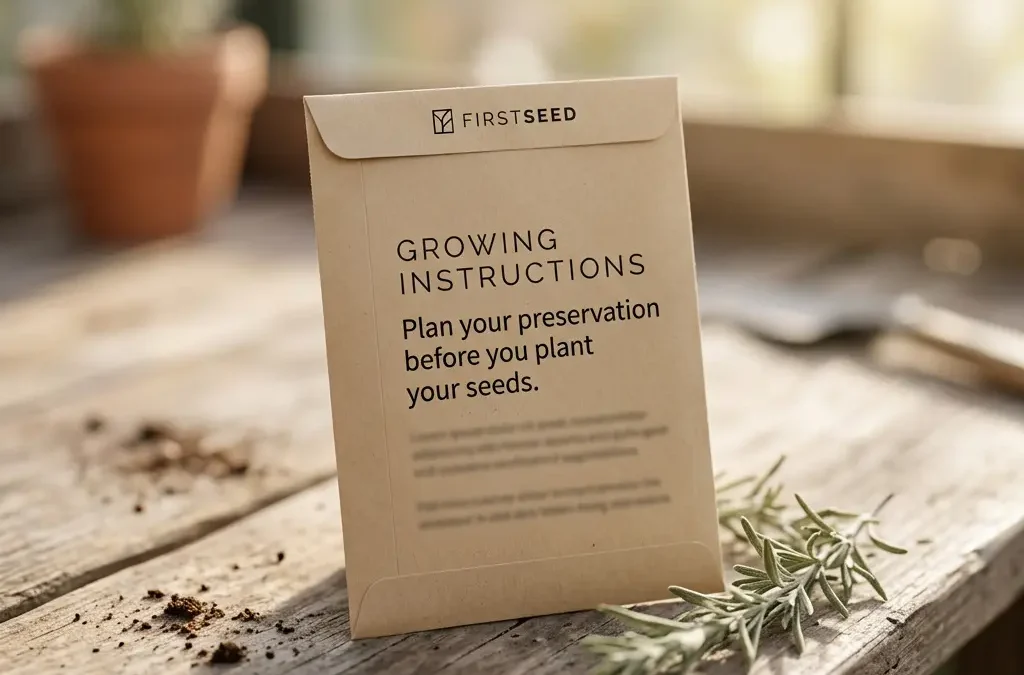
Quick Answer: Planning your garden with preservation in mind means setting clear goals for what you want to eat year-round, tracking your harvest to learn how much each plant produces, and using that data to plan next year's garden so you grow exactly what you need....
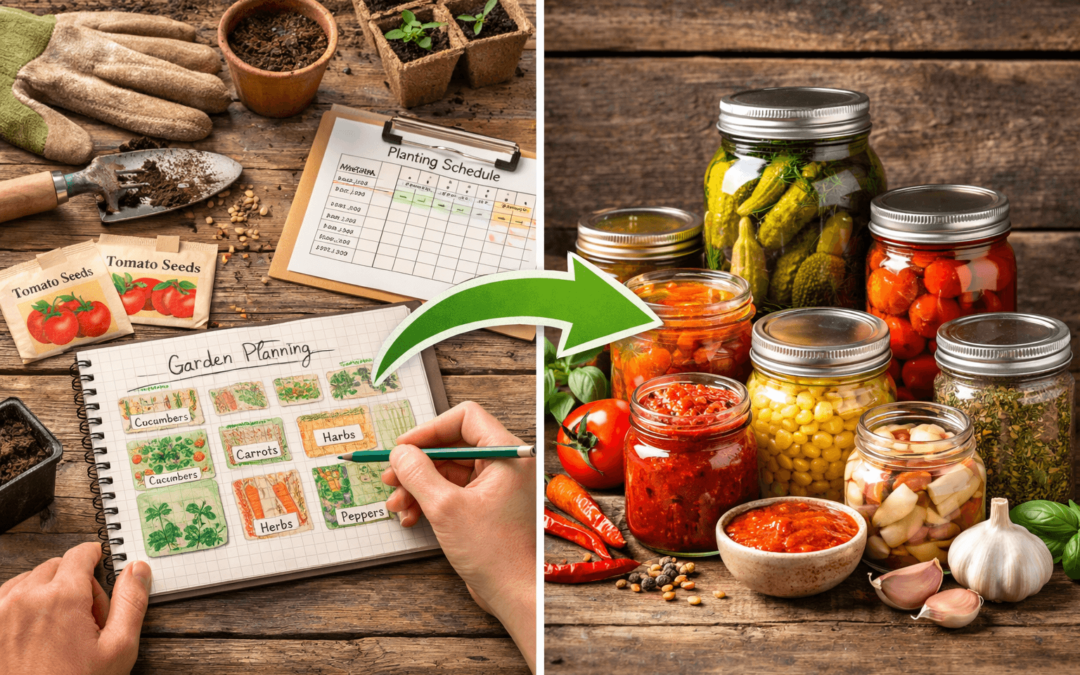
Why Plan Your Garden With Preservation in Mind?
read more